Server Monitoring and Restart Using a Raspberry Pi
Sun Jul 05 2026
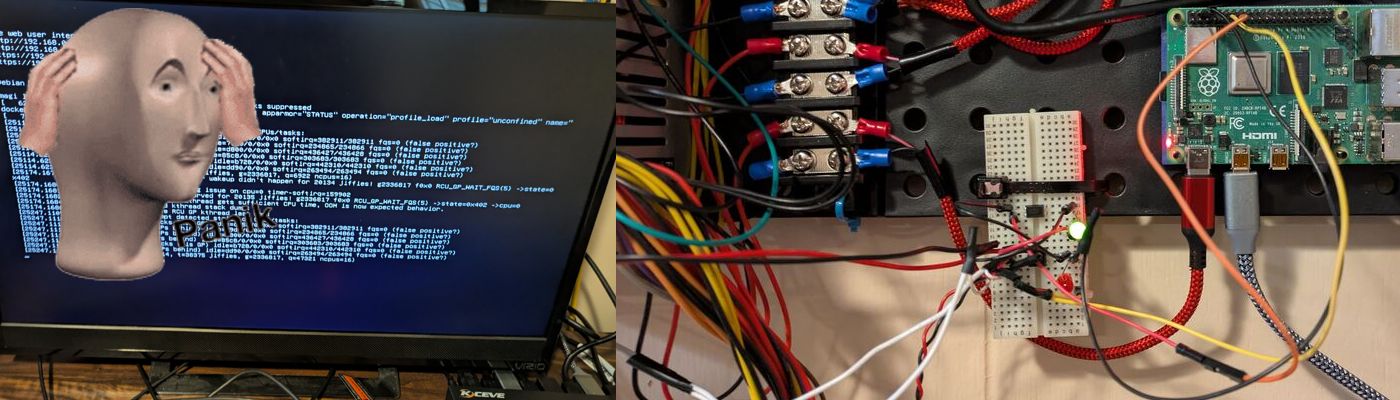
Sometimes you have a pesky server that occasionally crashes. Sometimes it’s a kernel panic, sometimes it’s a dataset just randomly disconnects. In an enterprise environment, you have the budget to setup redundant applications with Kubernetes, Ceph, multiple datacenters, etc. In a homelab, it’s not worth having anything redundant with the exception of data storage on HDDs. In other words: server crashes however infrequent, are a headache and are often impossible to deal with remotely.
The premise of this project is that we will be using an optocoupler and a Raspberry Pi to turn on and off my server remotely. We are doing this as opposed to wake on lan or remote ssh calls since when a server crashes, it won’t respond to wake on land or be accessible via SSH. An optocoupler is simply a transistor where the flow of electricity is controlled by an external circuit using an LED rather than your own power. This keeps the two circuits isolated and allows us to prevent one circuit from damaging the other. Optocouplers are very small and you can purchase 50 for around $5.
My Wall Mounted Raspberry Pi Homelab
Sun Mar 01 2026
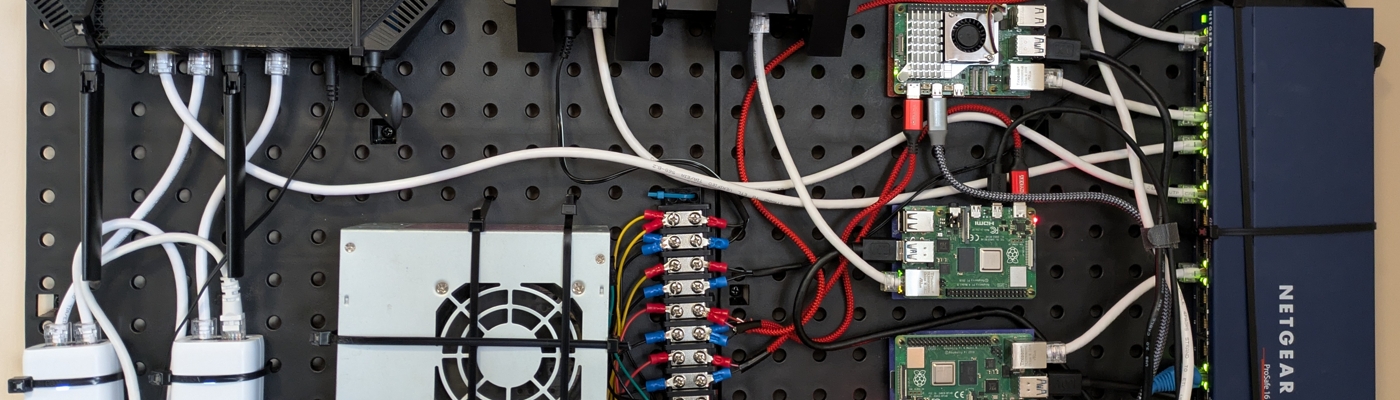
Welcome to my descent into homelabbing. With the rising cost of cloud hosting, and my DigitalOcean droplets crashing more frequently due to increased load, I decided to start self hosting more of my public facing personal projects. Most posts that I see on Reddit or Youtube regarding homelabbing tend to show off server racks filled with beefy and expensive enterprise grade equipment. This post aims to share my low-cost approach to homelabbing which uses inexpensive Raspberry PIs. I want to show that you can do really cool stuff while ‘saving’ money in the long run.
Before I started this project, I had two Raspberry PIs haphazardly perched on-top of my stereo. One of the PIs ran Pi-hole and Caddy, the other PI ran several python websites written using FastAPI. To run more stuff locally, I wanted to get another Raspberry Pi to run a firewall on OpenWRT and another Raspberry Pi to run some of my websites in Docker containers. My current arrangement of PIs wasn’t very “elegant”, so I decided to mount everything on a pegboard.
Creating An Audio Switch
Wed Jul 01 2020
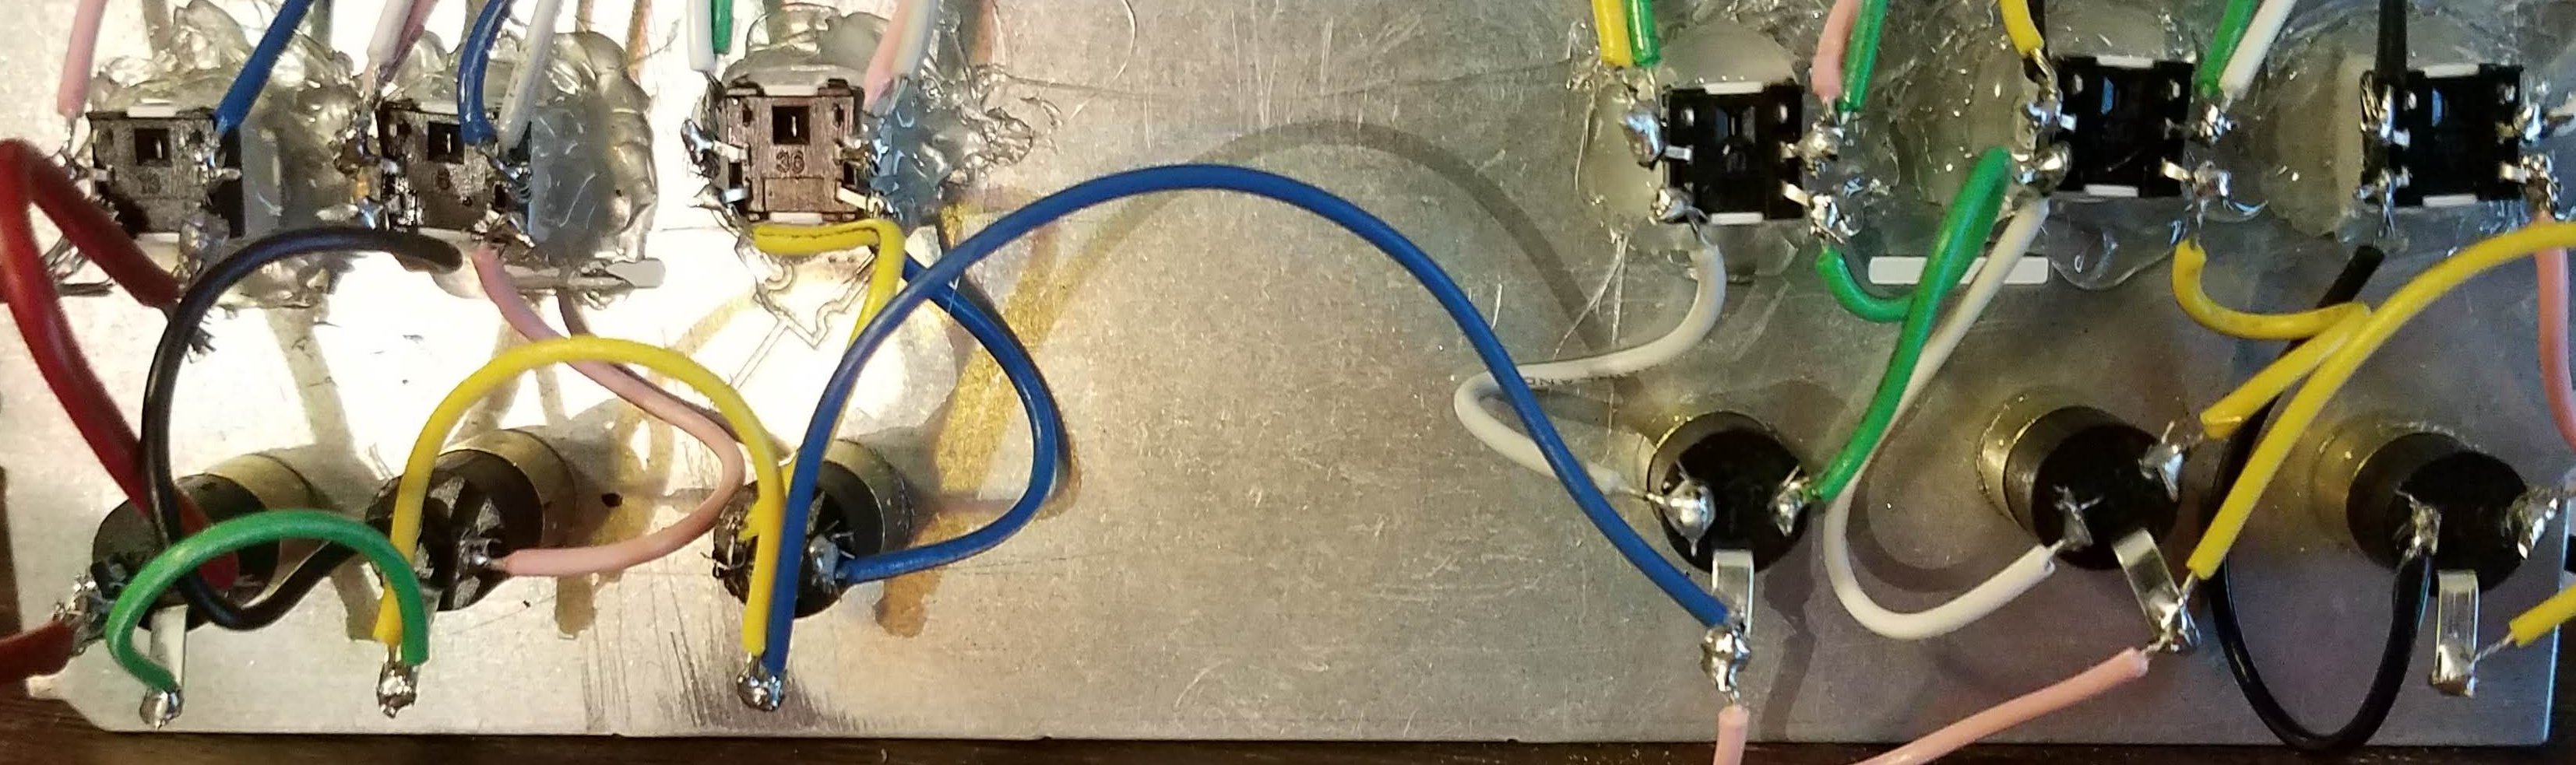
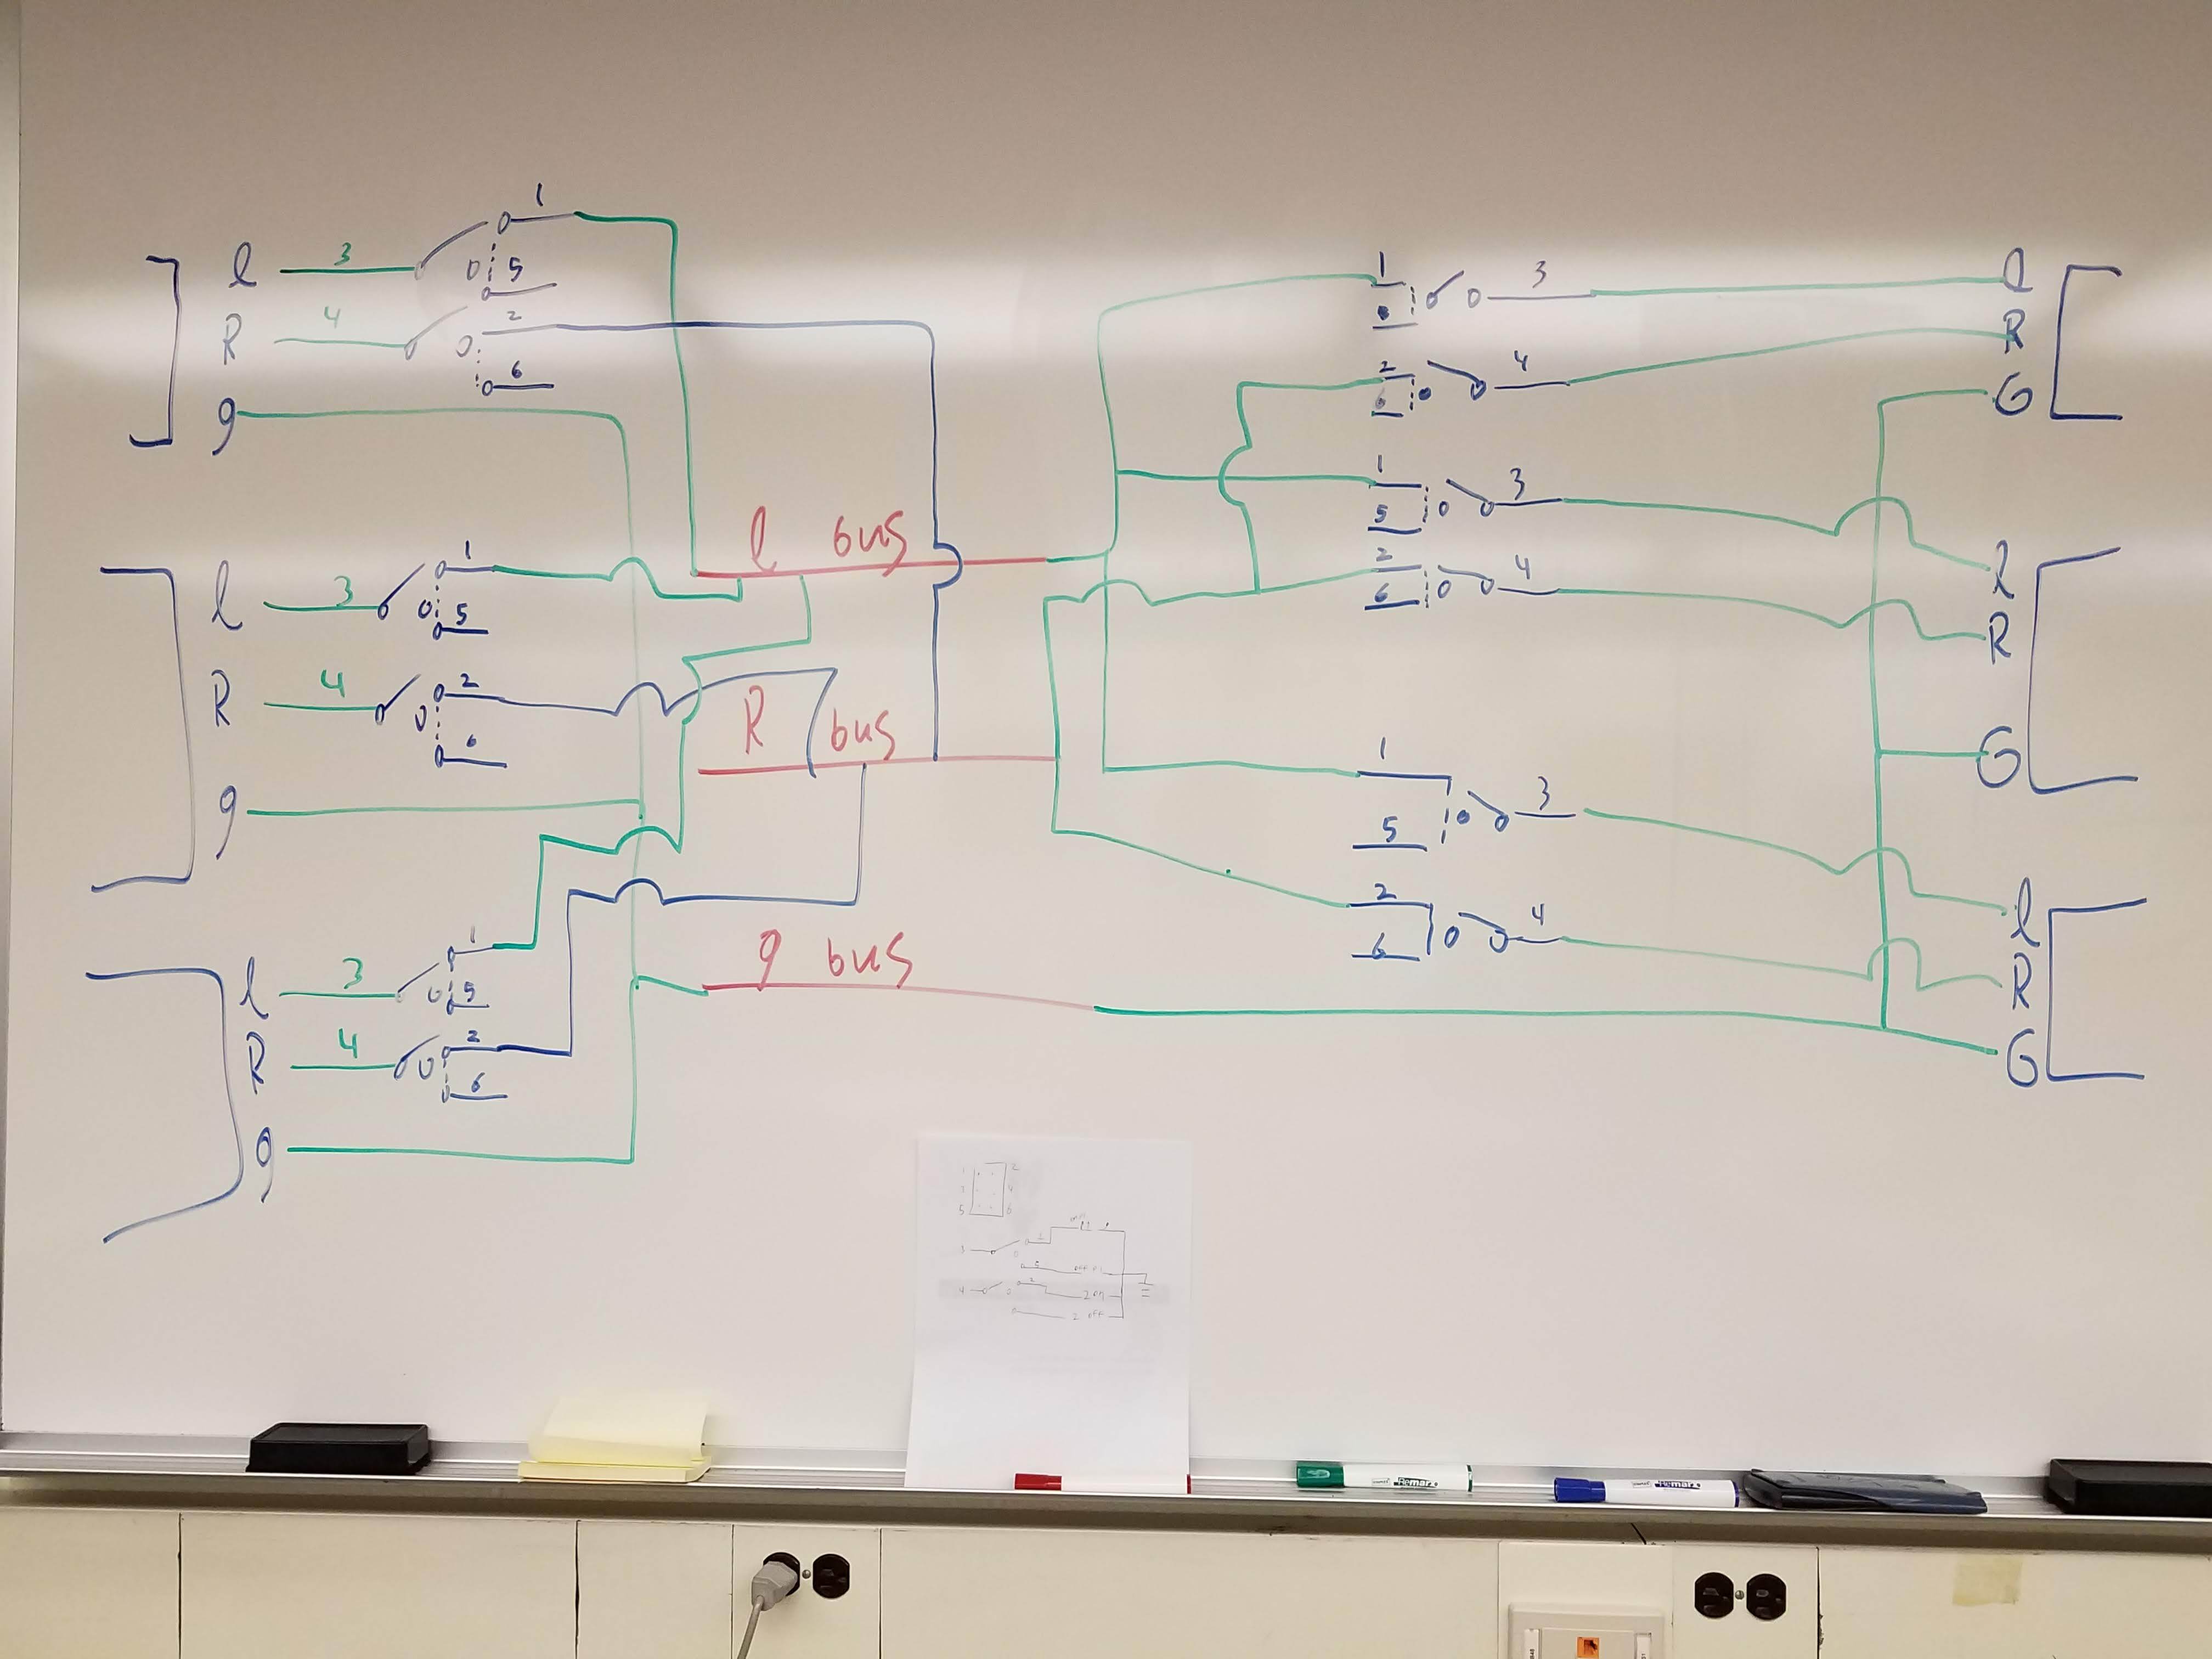
This post covers a bit of an old project, but I wanted to write about how I made my 3.5mm audio switch. The goal of this project was to make an audio switch that had multiple inputs and multiple outputs. At the time, I could not find a commercial product that did this, and similar DIY projects only had multiple inputs and a single output rather than numerous inputs and outputs.
I started this project by making a wiring schematic.

2018 Rochester Maker Faire
Sun Dec 02 2018
1 Introduction
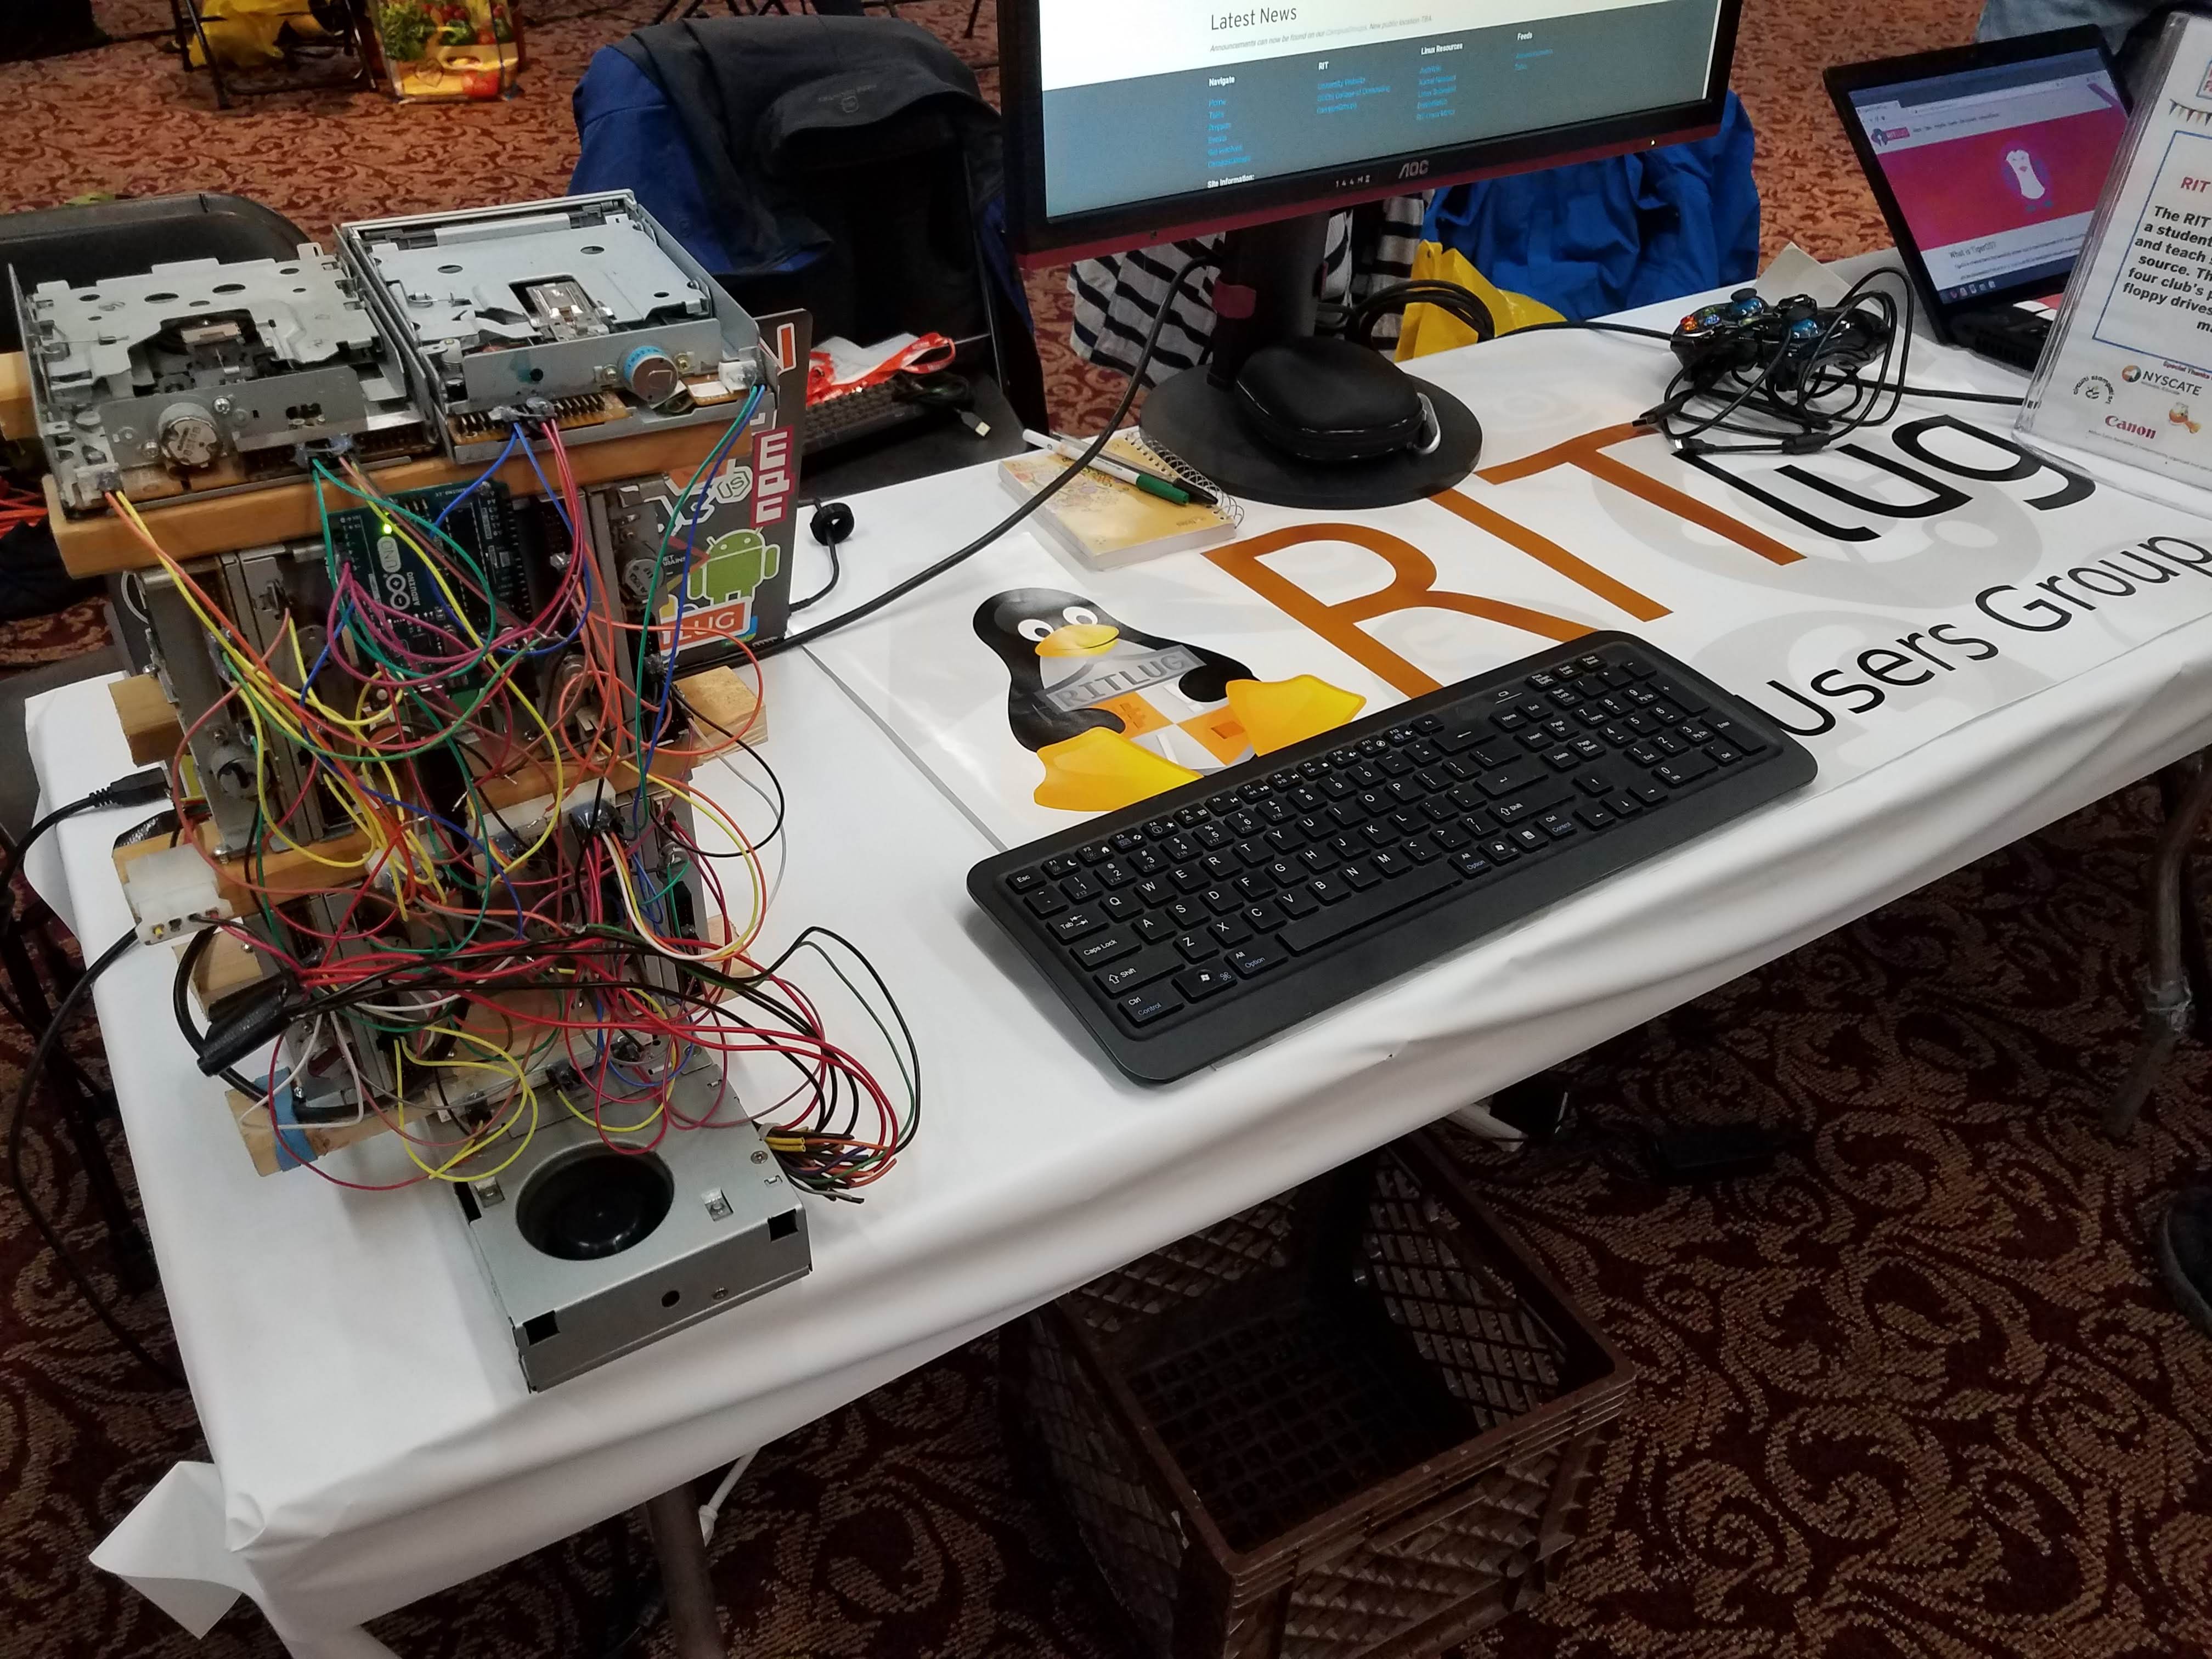
A few weeks ago I presented my musical floppy drives at the Rochester Maker Faire with RITlug. Wow, that sentence had a ton of links– you should check them out. This post is a quick recap of my experience at the Maker Faire and a project update for my musical floppy drive project. For those of you who don’t know, Maker Faires are community gatherings where people “celebrate arts, crafts, engineering, science projects and the Do-It-Yourself (DIY) mindset”.
I would like to give a huge thanks to Christian for providing me with some of these pictures and RITlug for giving me the opportunity to present at the Maker Faire.
2 Project Background
DDR4 Ram Introduction
Fri Mar 06 2015
0.1 Overview
DDR4 ram is the successor to DDR3 ram and has many benefits. DDR3 ram is currently what most computers use, and it came out in 2007.
0.2 What DRR4 Stand for:
Double Data Rate Fourth Generation Synchronous Dynamic Random-Access Memory
0.3 DDR4 achieved higher efficiency
Recent Posts
Server Monitoring and Restart Using a Raspberry PiMy Wall Mounted Raspberry Pi Homelab
The Data Spotify Collected On Me Over Ten Years
Visualizing Fitbit GPS Data
Running a Minecraft Server With Docker
DIY Video Hosting Server
Running Scala Code in Docker
Quadtree Animations with Matplotlib
2020 in Review
Segmenting Images With Quadtrees